The ground wire is used to make the connection of the appliance to the earth. To eliminate the risk of accidents every piece of electrical equipment needed proper grounding. So might need to check ground wire with a multimeter. One method for testing grounding is using the electric bulb. For that connect the ground wire at the place of neutral if the bulb glows it means the earth is fine. However, it is suggested to test earthing wire using a multimeter.
What is grounding?
Grounding is also called earthing. During the grounding electricity from the appliance, the body is transmitted to the ground so that risk of shock can be minimized. If the appliance is not grounded properly it can cause an accident when someone will come in contact.
You may like to read
How to check earthing with a multimeter?
How to check ground wire with Multimeter?
-
Set the Voltage to AC
For testing its necessary to select the AC voltage. Rotate the Multimeter knob to V with wavy lines. Measure to select the range. The voltage range must be greater than the measured voltage.
2. Connect the Probes
There are two probes with black and red color. Insert the red probe in port labeled with Ω, V, or + and black probe in port labeled – or COM. Make sure that you have inserted the probe in the right probe because it will lead the meter to a short circuit. Also, never use damaged or lead having a crack.
3. Check Line to Neutral Voltage

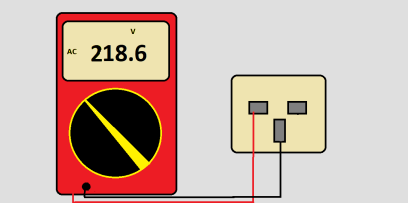
First, take the reading between line and neutral. As you are working on live voltage make sure that probes are insulated or you can warp them with any insulation. Now insert the probes into the outlet. Note down the reading from the multimeter screen.
4. Check Line to Ground Voltage

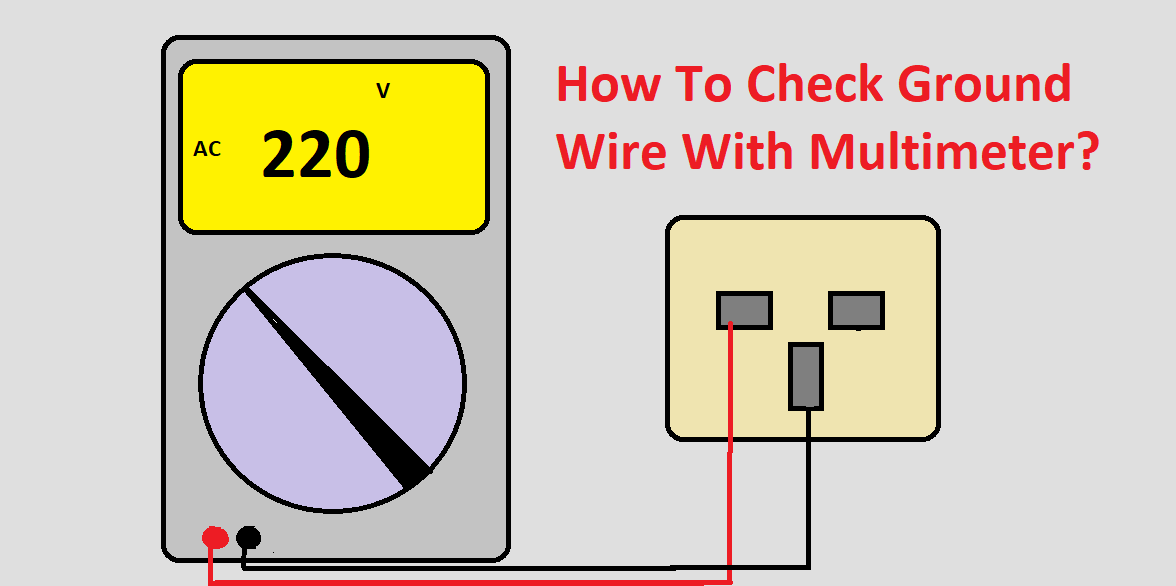
To check the line o ground voltage. Connect the red lead with the line and the black lead with the ground. On the outlet, the ground terminal is large. Now note down the reading from the meter screen.
5. Analyze and Record
The voltage between Line to neutral must be the same as Line to ground with a 5% margin. For example, if the voltage between line and neutral is 220V then Line to ground voltage must be equal or nearly equal to 220V.
Calculate the leakage current by subtracting the Line to neutral and line to ground voltage. If the difference is below 2V then the ground wire is working properly otherwise it’s damaged or not properly connected to the ground.
What if you don’t have a multimeter?. In this case, take the test lamp and connect one wire with the line while the other with the neutral. Make sure that connections are tight and there is no chance of sparking. If the bulb fails to glow, this shows that the outlet is not grounded properly.
What does OL mean on a multimeter?
Frequently Asked Questions
How do I test a ground wire?
To test the ground wire with a multimeter follow these steps.
- Rotate the multimeter knob to Ac volts and connect leads.
- Now check the voltage between Line to neutral.
- Also, check the voltage between Line to Ground.
- Take the difference of Line to neutral and Line to Ground.
- If the difference is less than 2V. Then the ground wire is working properly.
How do I know if my ground is connected?
We can check the grounding through a multimeter test. To test the ground wire with the meter. Check the voltage between neutral and phase and note it down. Now, check the voltage between phase and ground. The difference between these two voltages must be less than 2V.
How do you test for a bad ground wire?
To test for bad ground wire we use a multimeter. We measure the voltage of the AC supply and then measure the voltage between ground wire and phase. If the voltage of the Line to the ground is 0V then the ground wire is bad or damaged.
A properly grounded appliance will provide the path to ground in case of fault or short circuit. If the grounding is not done properly it can cause accidents. We have tried to cover everything about How to Check Ground Wire with a Multimeter? and will look for more methods and add them in the next update. if you find anything helpful please share it with friends.

